Connect Your Symplicy Form to Your Calendly
What can you achieve with the integration?
- Create a powerful, automated workflow so that anyone who completes the form can immediately schedule an appointment.
- Arrive better prepared for your meetings by gathering contextual information about your clients, including their name, email address, location, legal issues, and more.
How does the integration work?
- You share your Calendly link with your client.
- The client books an appointment via your Calendly.
- As soon as the appointment is confirmed, Calendly automatically sends your client a confirmation email containing your Symplicy form’s magic link.
- Your client then completes the form before the meeting.
Steps to configure the appointment confirmation email with the Symplicy form link
- Sign in to your Calendly account: https://calendly.com/login.
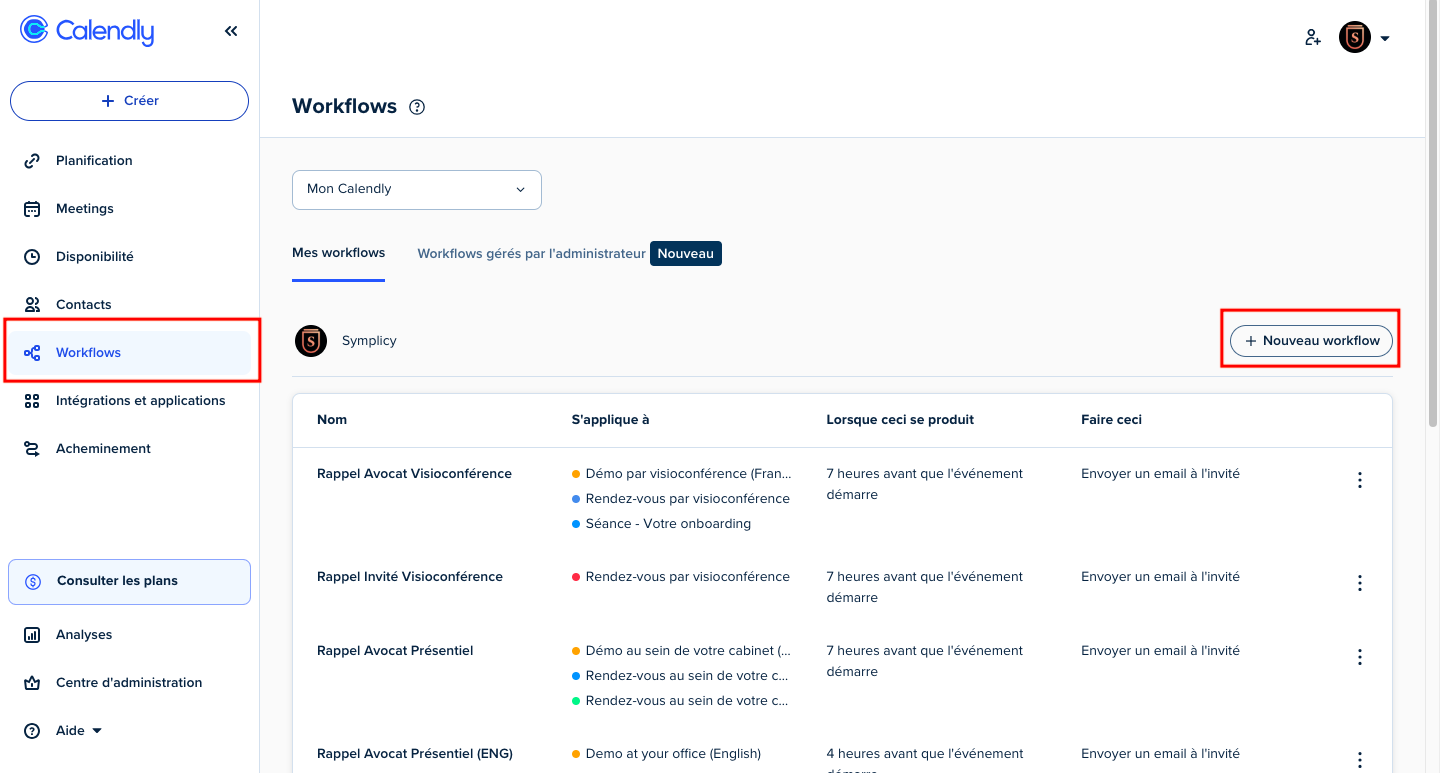
- Open the “Workflows” menu and click the “+ New Workflow” button.
- Configure your workflow with the following options:
- New event is scheduled
- Immediately after an event is scheduled
- Send an email to the invitee

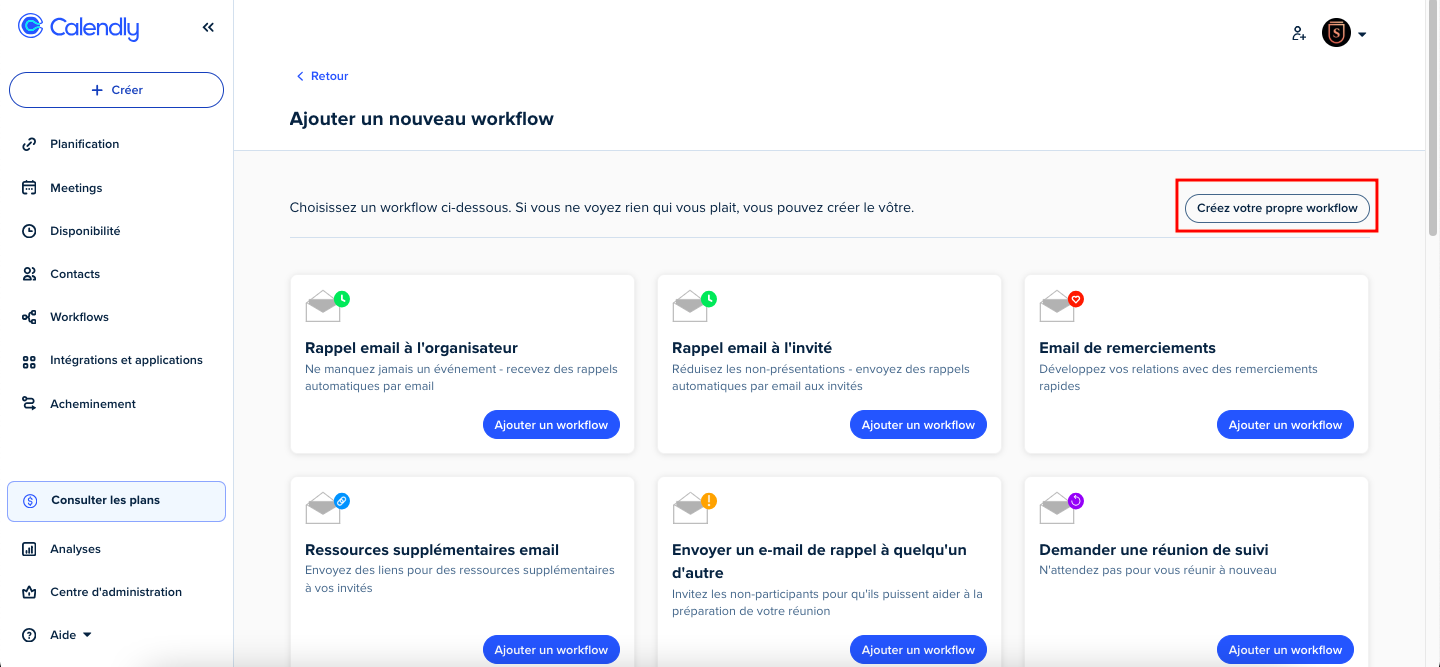
- By clicking the “Next” button, you will be redirected to the workflow-creation screen.
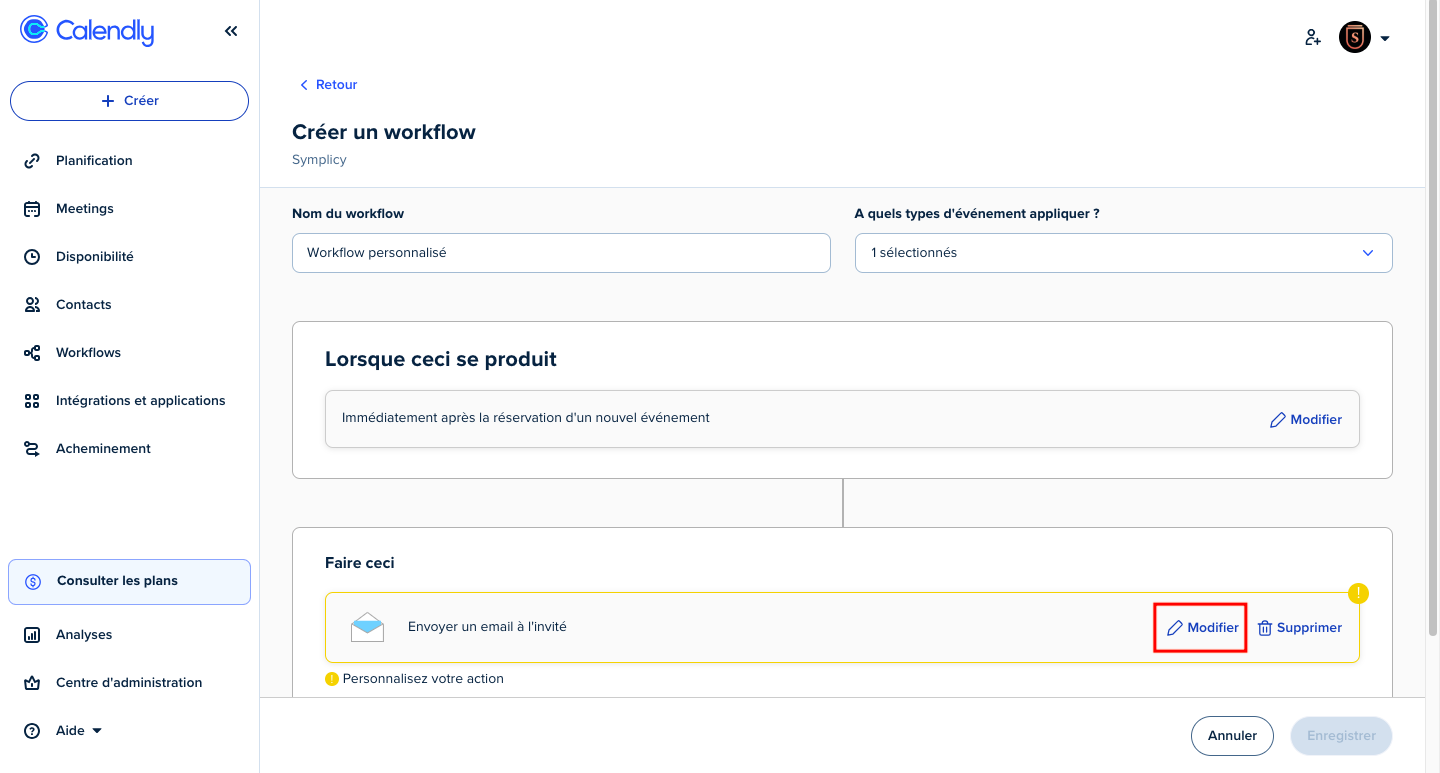
- In this screen, you may name your workflow, link it to an event type (e.g., Appointment at the law firm), and edit the email.
- Click the “Edit” button to draft the email.
- In the email-editing screen, compose your message in the dedicated field.
- Within this field, insert your Symplicy magic link. We recommend using the form corresponding to the “Client File”.
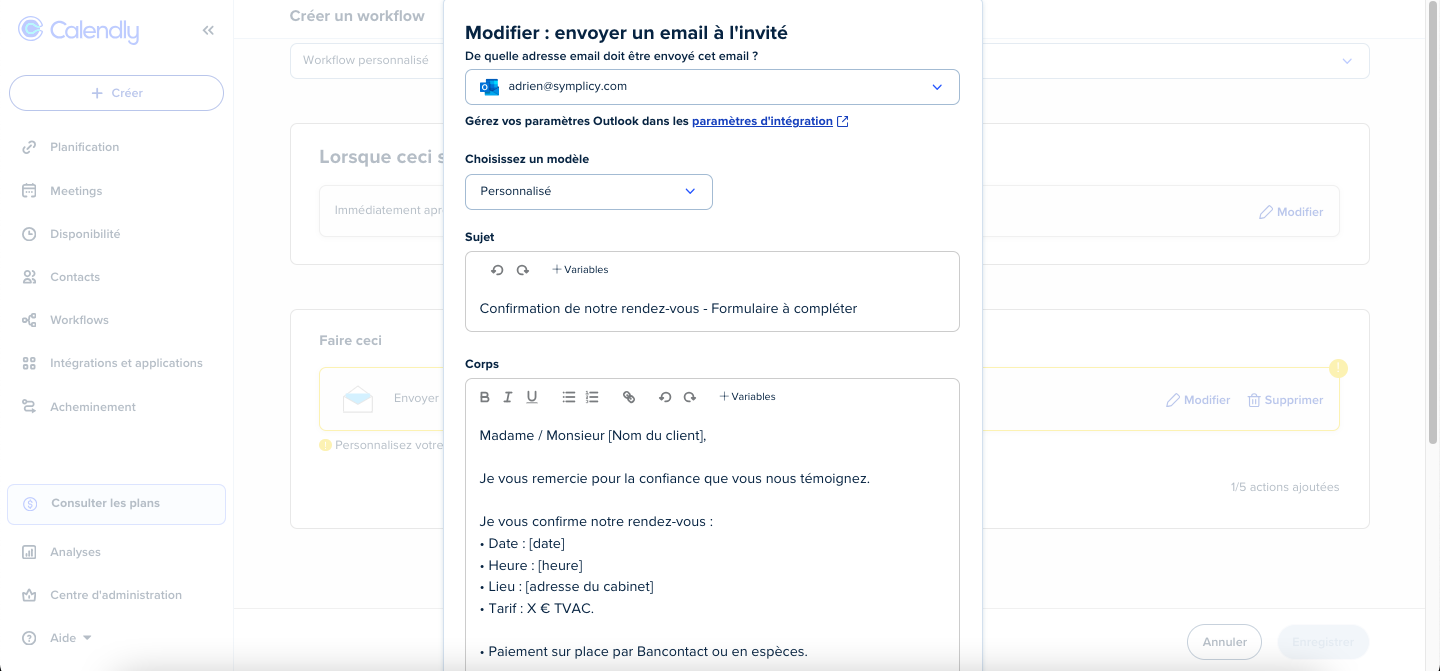
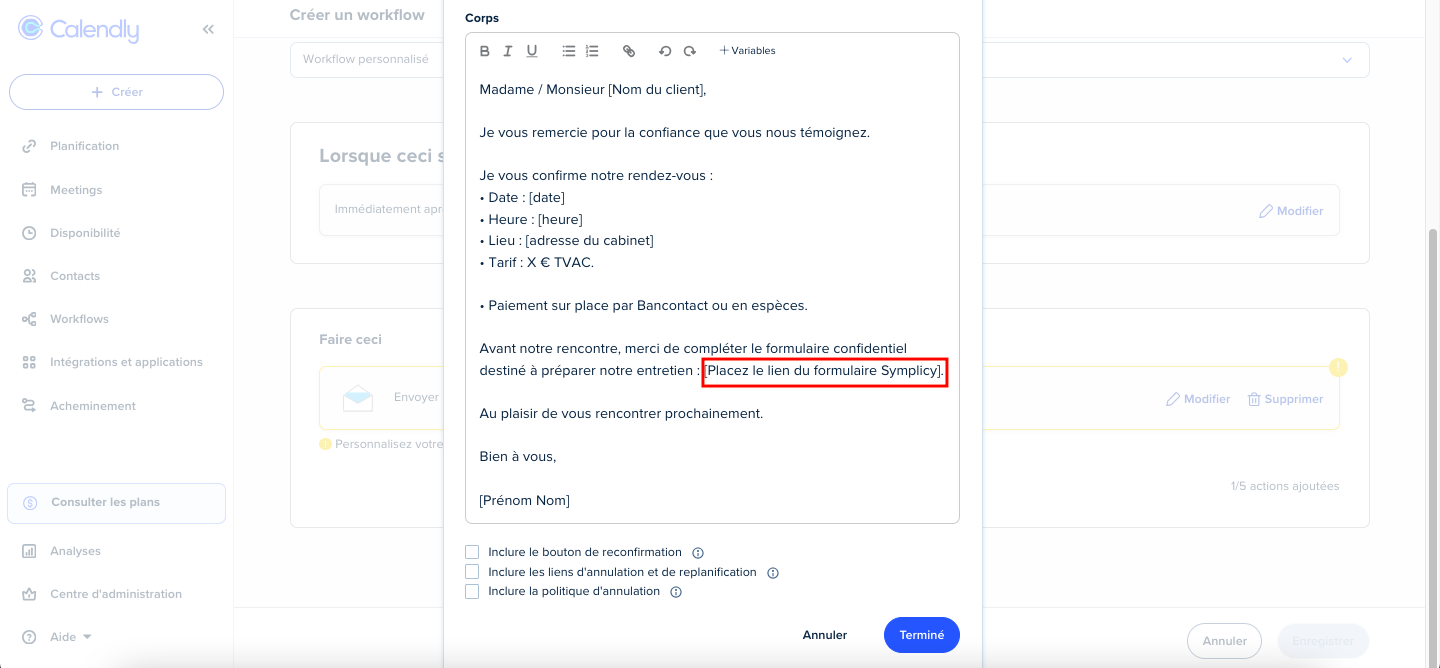
- Click the “Done” button.
