Connect your Symplicy form to Septeo Lawyer Solutions
What can you achieve with the integration ?
- Stop wasting your time manually transferring information to Septeo Lawyer Solutions. You can automate this tedious task.
- Once enabled, this integration will ensure that each time a new form is received, a contact record and a case file are automatically created or updated in your law-practice management software.
- Your contact list remains accurate and up to date at all times, effortlessly.
- Map any question from the Symplicy form to a property of your Septeo Lawyer Solutions contact or case file, together with all the response data from your Symplicy form.
- Organise your data and avoid confusion between multiple sources: everything is stored in Septeo Lawyer Solutions, ready to be used and analysed, whether you are drafting a letter to your client, a procedural document, your pleadings, your individual client risk analysis (anti-money-laundering), or analysing the performance of your legal practice…
How does the integration work ?
Let Symplicy create your contact and case files in Septeo Lawyer Solutions (Air or Néo). The smart Symplicy form structures, analyses, and qualifies every client request before it reaches you in your practice-management software.
Steps to follow :
1. Ask your client to fill in a Symplicy form.
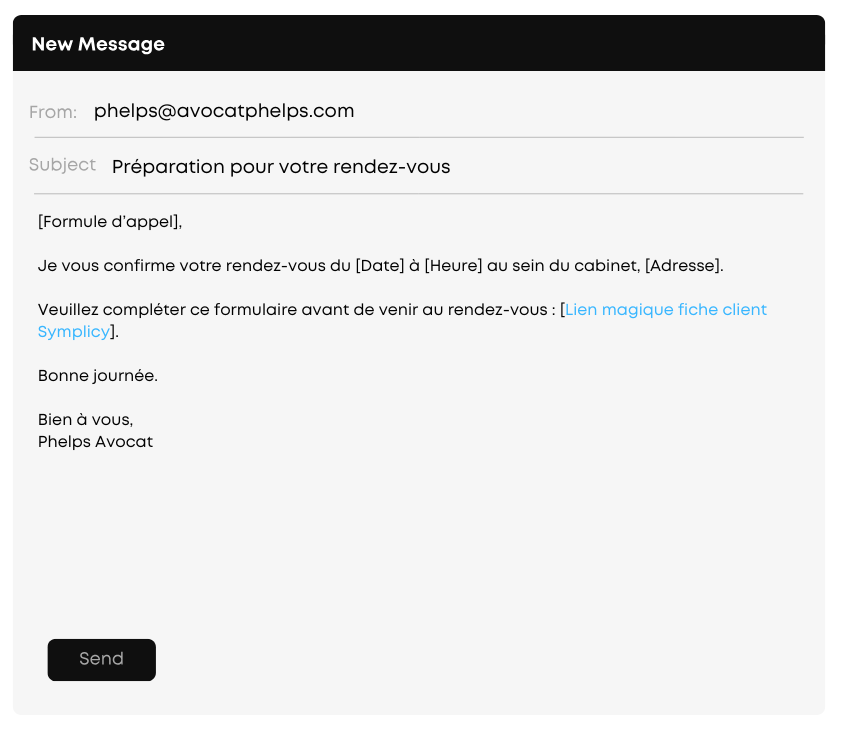
2. As soon as your client has completed and submitted the form, you will receive it in your inbox.
In this notification e-mail, click on the Secib button, located at the end of the message.
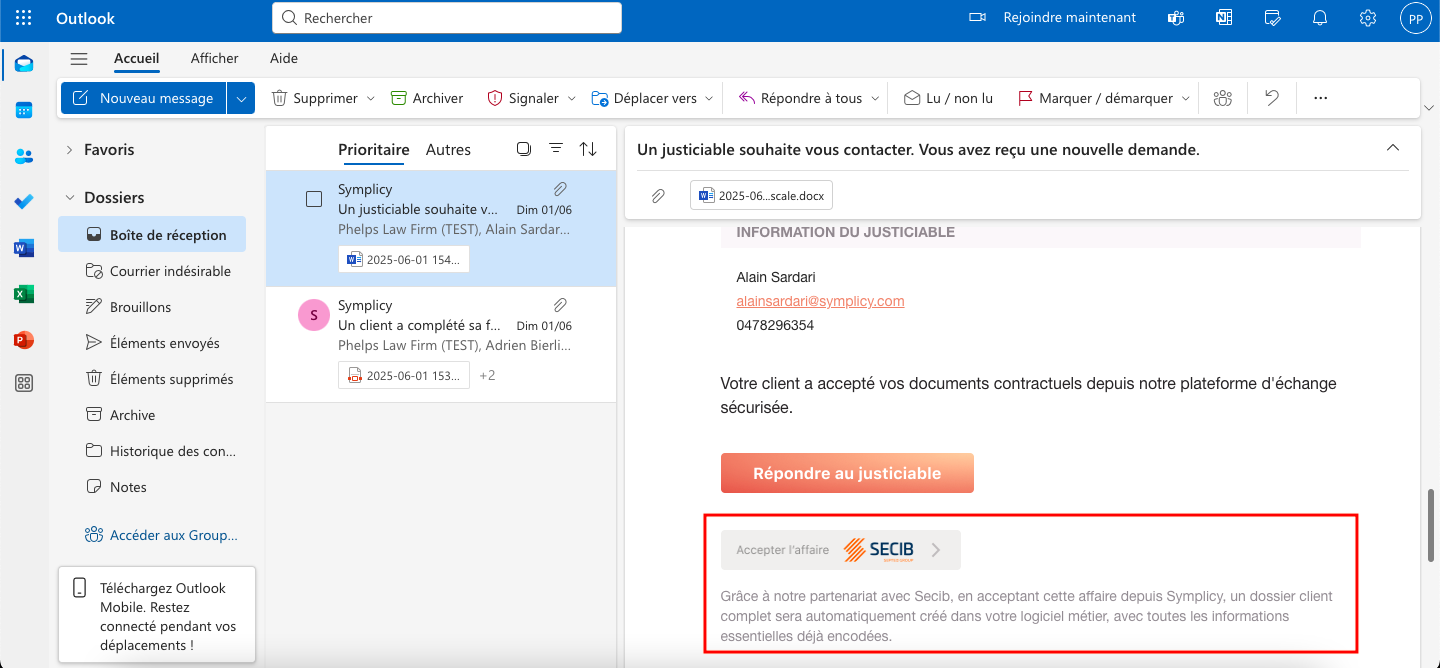
3. By clicking on the Secib button, a complete case file and a contact record will automatically be created in your business software.
All key information is already entered in the various fields of the case file and the contact record.
4. Once the data have been imported, log in to your Secib account.
You can now view and start using the recorded data.
How do I enable the integration ?
- Go to the login page: https://app.symplicy.com/.
- Log in with your e-mail address and password.
- Click on the configuration menu.

- The menu will unfold and display the “Firm” section. Click on this section.

- In this section, select the “Integrations and applications” menu.
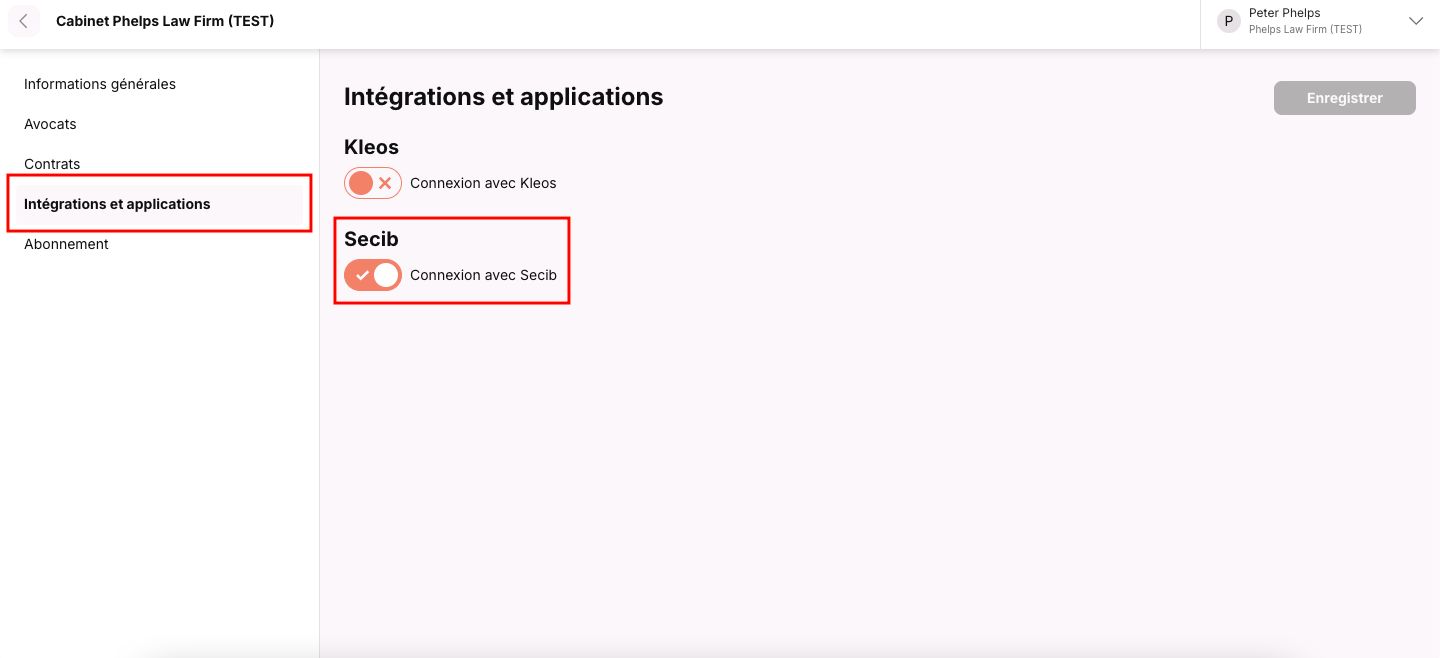
- You can enable the integration by clicking on the dedicated toggle button.
- As soon as the integration is enabled, we will contact you by e-mail as quickly as possible to ensure that you take full advantage of it.
